Revit How to Use the Same Tool Again
Ever wished you could have a crook sheet of all the handy Revit shortcuts? We've got your back! Hyperfine has been kind plenty to put together a video of all the best shortcuts you demand to know. Check out this article to run across a listing of 50 bones tools and commands for Revit!
50 Revit Shortcuts
i. Align (AL): Blazon. "AL." Click on an object. So click on the object yous want to align to the get-go.
2. Array (AR): Click on the object. Type "AR." Blazon in the number you want including the ane you have selected and hitting "enter." Click anywhere and drag in the direction y'all want the array to go, then type in the value you want.
three. Place a Component (CM): This is a shortcut to place any blazon of component in your projection (toilets, refrigerators, casework, etc.). Utilize the search bar in the left properties box to chop-chop find what you are looking for.
4. Copy (CO): Select an object. Type "CO." Click and identify the copied object where you want it.
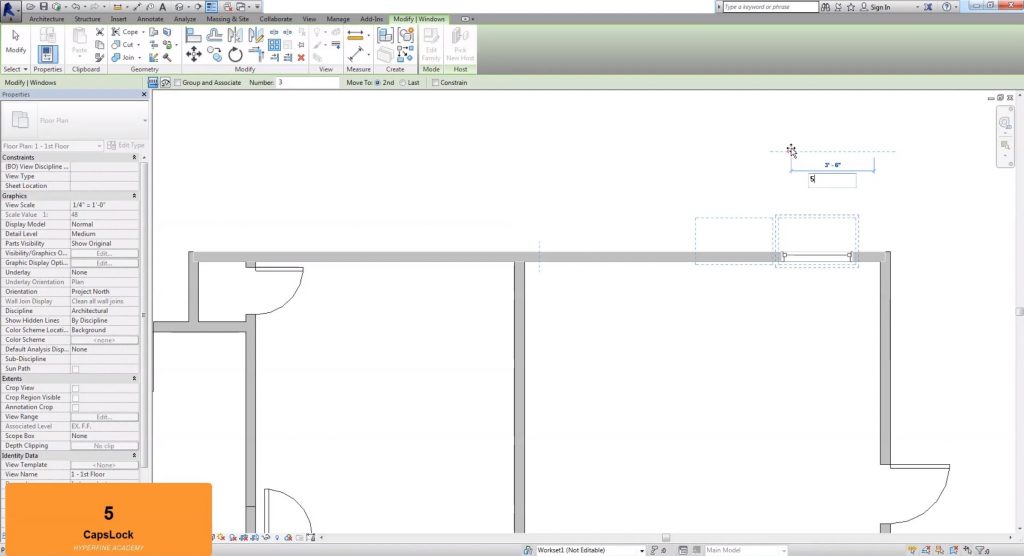
5. Create Similar (CS): Click on an object. Type "CS." Click where y'all want to identify your new object.
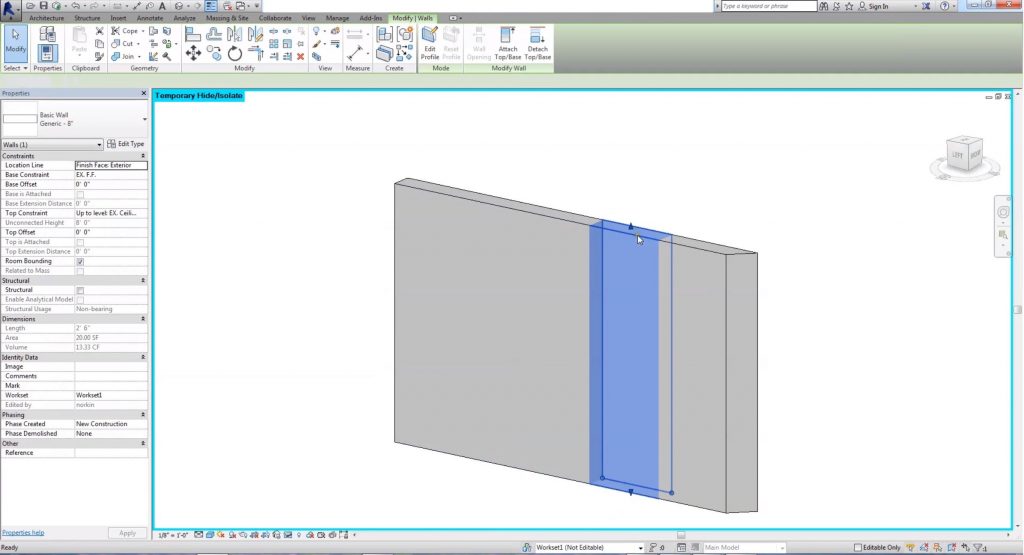
6. Cut Profiles (CX): This command is only for drafting views and volition non affect the rest of your Revit model. Blazon "CX." Select the object you desire to change. Draw a line in betwixt the orangish boundary lines. Betoken the arrow towards the side you want to keep and hit "ok."

7. Dimensions (DI): Type "DI." Click on the beginning point you desire to measure out from, then elevate and click on the ending point.
8. Detail Line (DL): Type "DL." Click where you want to begin the item line. So elevate and click again to depict the line.
9. Mirror (DM): Select an object. Type "DM" and draw the line you want the object to reflect over, or blazon "MM" to select an existing line.
10. Door (DR): Type "DR" to place a door.
11. Override Graphics in View past Element (EEE): Using this shortcut will only affect the objects you accept selected.
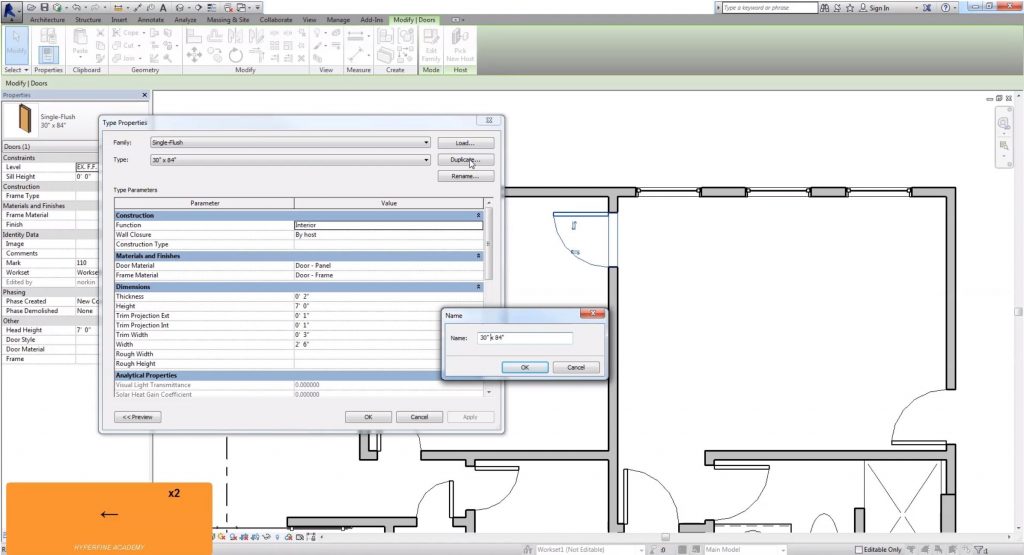
12. Edit Type (ET): "ET" Select an object. Blazon "ET." To avert altering every object in your Revit model, indistinguishable the object so you only change the settings of the one yous take selected.
thirteen. Filter Option (FFF): Select everything in your view. Type "FFF." Use the dialog box to select only the objects you want.
14. Grid Lines (GR): Type "GR." Click anywhere to first cartoon your grid line. Drag and click over again to cease it. They automatically number sequentially, then make certain you starting time with the number you want.
15. Temporarily Hide a Category (HC): Type "HC" and so select the category you want to hibernate.
16. Temporarily Hide an Element (HH): Type "HH" and then select the element yous want to hide.
17. Temporarily Isolate and Element (HI): Type "How-do-you-do" so select the element you want to isolate.
eighteen. Reset Temporary Hiding Settings (HR): Type "60 minutes" to reset the previous hide commands.
19. Half Tone an Element (HT): Type "HT" then select the element you desire to halftone.
20. One-half Tone a Category (HY): Type "HY" then select the category you lot want to halftone.
21. Keyboard Shortcuts (KS): Open the "keyboard shortcut" window to edit your Revit shortcuts.

22. Load Family unit (LF): Type "LF" to open the "load family unit" dialog box.
23. Open Cloth Settings (Thousand,): Type "One thousand," to open your "material browser."
24. Match Type (MA): Select an object. Type "MA." Select a new object to give it the same settings as the original object yous selected.
25. Move (MV): Select the object you desire to move. Blazon "MV." Drag your mouse in the direction yous want to motility the object and blazon in the value y'all want to move it by.
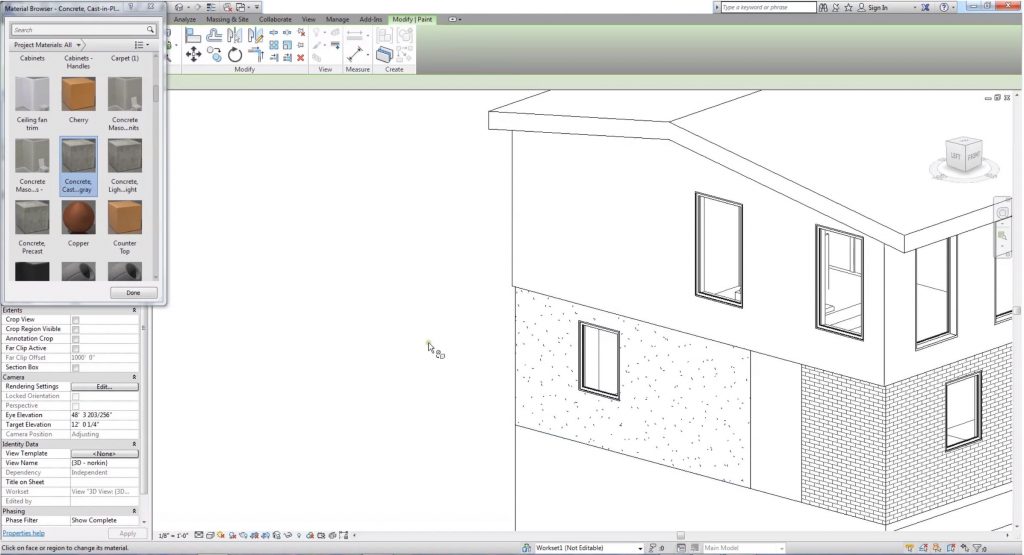
26. Paint (PT): Type "PT" to quickly access your material browser and paint surfaces. Go along in mind this volition change the appearance of a surface, but non the actual properties.
27. Edit Linework (QW): Type "QW." Get to the line style dropdown bill of fare and select what style you lot want your line to be. Then click on the line you want to modify.
28. Scale (RE): Select your object. Type "RE." Select the base point. Select the reference betoken. Drag the mouse in the direction you desire to scale. And then type in the new value.
29. Filled Region (RF): Type "RF." Select your line style from the dropdown menu and select the pattern from the properties box. Then click and elevate to create the region.
thirty. Create Rooms (RM): Blazon "RM." Click in areas that are bounded by walls to define a room.
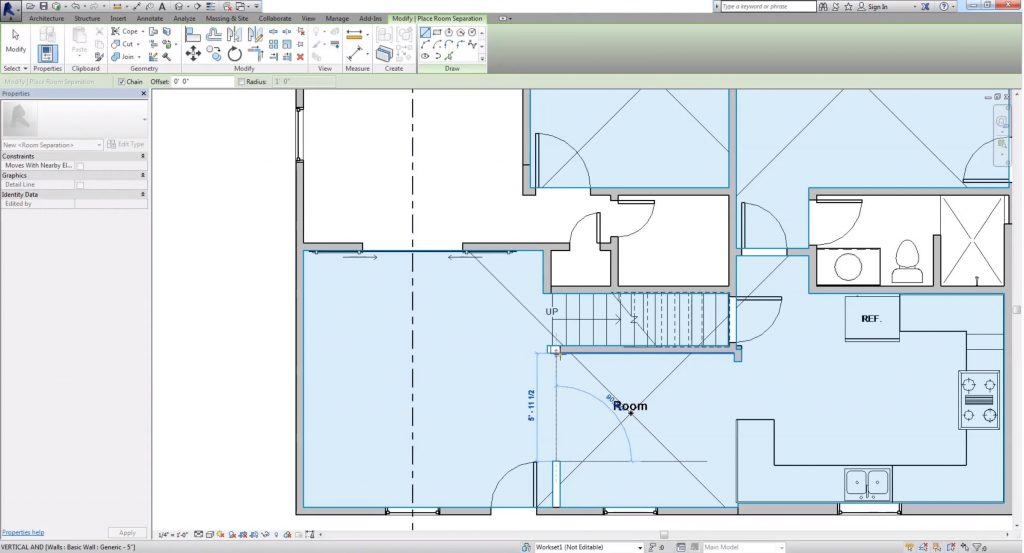
31. Room Separator (RS): Type "RS." Click and draw a line betwixt walls to define the room.
32. Create a Room That Spans Across a Wall: Select the wall that divides the room and uncheck "room bounding" in the properties box.
33. Rotate (RO): Select an object. Type "RO." Drag the base indicate to where you want to rotate from. Select the reference line and drag in the direction you lot want to rotate. It's all-time to type in an actual value.
34. Room Tag (RT): Type "RT." Then click on each room to tag it with its name.
35. Select All (SA): Select an object, then type "SA" to select all visible instances of that object in the current view.
36. Create a Section (SE): Type "SE." Utilise the parallel arrows to flip which direction it is facing and double click on the large arrow to view the section.
37. Split Confront (SF): Blazon "SF." Click on the face of the wall y'all want to split. Depict a line in between the orange boundary lines. Striking "ok."
38. Split Line (SL): Blazon "SL." So click on the line you want to divide. This volition divide your model into carve up sections that tin be altered or deleted.
39. Sync to Central (SS): Blazon "SS" to open the "Synchronize with Primal" dialog box. This is merely valid if you are working in a Worksets enabled model. Brand sure "user-created Worksets" is checked.
40. Tag Objects (TG): Type "TG." Uncheck "leader" and click on the objects you lot want to tag.
41. Sparse Lines (TL): Type "TL" to view your Revit model in thin lines.
42. Trim (TR): Type "TR" to employ the trim tool.
43. Add Text Notes (TX): Type "TX" to chop-chop add text notes.
44. Visibility Graphics (VV or VG): Type "VV" or "VG" to open the "visibility/graphics" window.
45. Create a Wall (WA): Type "WA" to use the wall control.
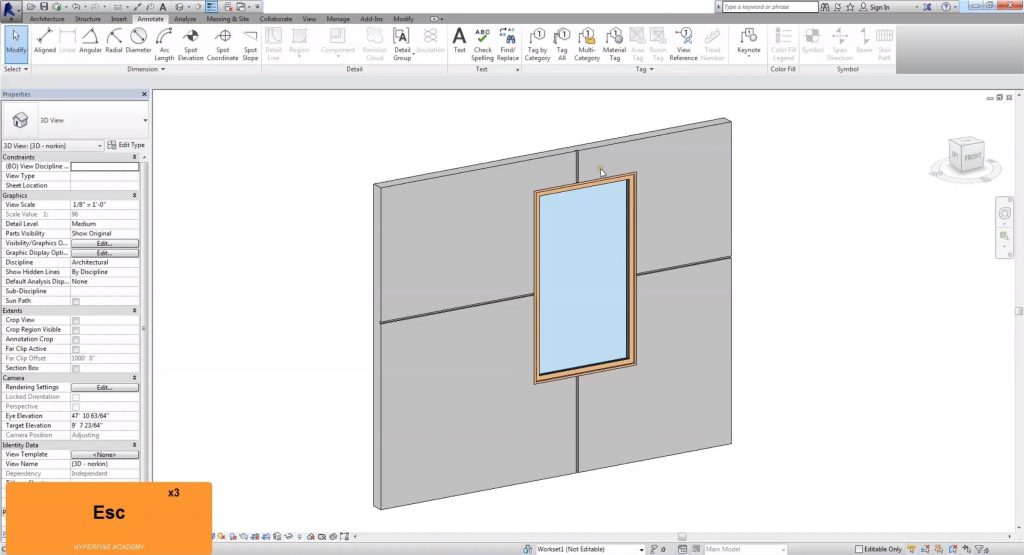
46. Create a Window (WN): Blazon "WN" to apply the window command.
47. Wall Reveal (WR): Type "WR." Ready the orientation to "horizontal" or "vertical" and click on the wall where you lot want the reveal to be located.
48. Wall Sweep (WS): Blazon "WS." Follow the aforementioned steps equally the "WR" command.
49. Reselect Terminal Pick: Hit "ctrl" + "shift" + "left pointer" to re-select your final selection.
50. Paste a Line to Current View: Copy the object you want to paste by hitting "ctrl" + "C" and so go to the view you want to paste to and hitting "ctrl" + "shift" + "V."
And in that location you lot have it! Your cheat sheet to 50 basic commands! If you lot want to learn even more than tips and tricks, cheque out Hyperfine's course on "Residential Architecture with Revit."
What are your favorite Revit shortcuts to use? Allow us know in the comments beneath!
Happy Hacking!
Source: https://designerhacks.com/revit-shortcuts-50-basic-tools-and-commands/
0 Response to "Revit How to Use the Same Tool Again"
Post a Comment